Shapes Construction
The shapes group is used to create and draw shapes,constructions such as axis, intersections, lines and so on.

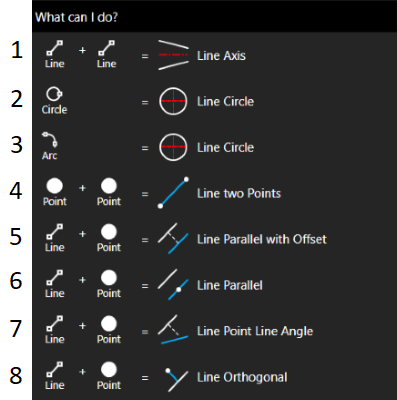
There are six possible features, each with a guide will prompt on right hand of the screen. Points, lines and circles specified on the guides are both primitive or shapes already create on the 2DVisualizer.
- Rectangles:
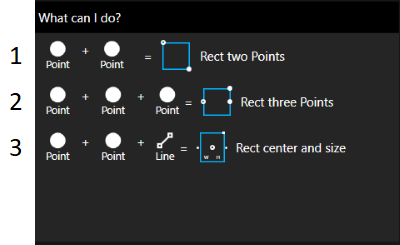
Instruction step by step:
1) |
|||
|
|
|
|
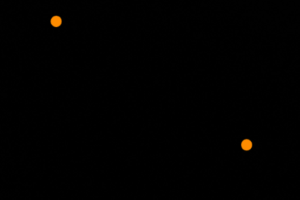
Set one point |
set a second point |
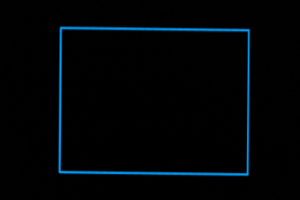
confirm to construct a rectangle passing through them |
|
2) |
|||
|
|
|
|
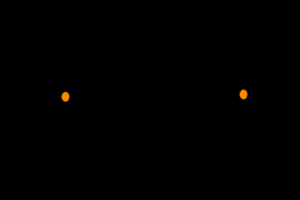
Set one point
|
set a second point |
set a third point |
confirm to construct a rectangle passing through them |
3) |
|||
|
|
|
|
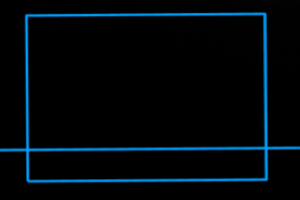
Select a line
|
set one point
|
Select another point
|
confirm to construct a rectangle with the first point as centre, the second point as vertex and one side parallel to the line
|


- Circles:
Instruction step by step:
1) |
|||
|
|
|
|
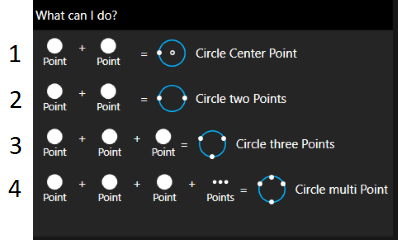
Set one point |
set a second point |
confirm to construct a circle with the first point as a centre and passing through them |
|
2) |
|||
|
|
|
|
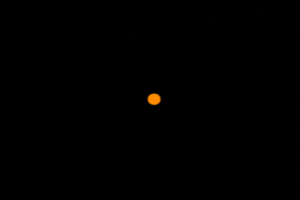
Set one point |
set a second point |
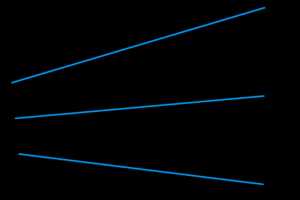
confirm to construct a circle passing through them |
|
3) |
|||
|
|
|
|
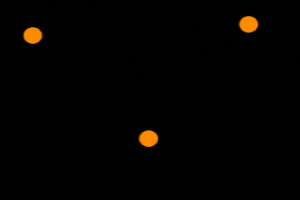
Set one point |
set a second point |
set a third point |
confirm to construct a circle passing through them |
4) |
|||
|
|
|
|
Set one point |
set a second point |
set four or more points |
confirm to construct a circle passing through them |


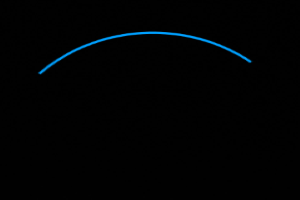
- Arcs:
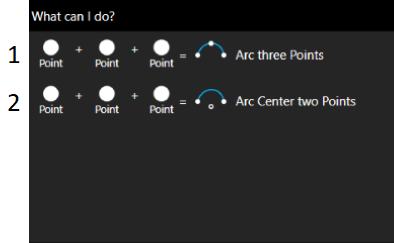
Instruction step by step:
1) |
|||
|
|
|
|
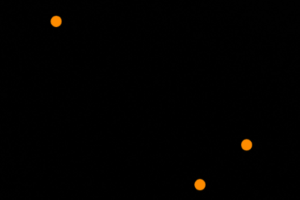
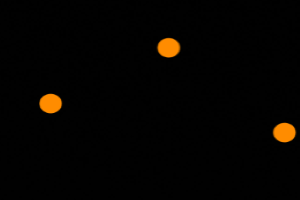
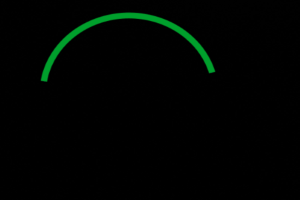
Set one point |
set a second point |
set a third point |
confirm to construct an arc passing through them |

2) |
|||
|
|
|
|
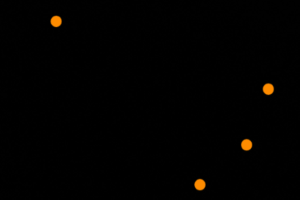
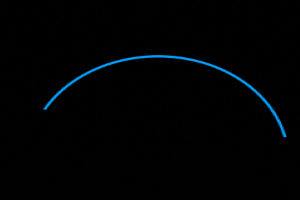
Set one point |
set a second point |
set a third point |
confirm to construct an arc with the first point as a centre and passing through the other two. The construction is done drawing the line clockwisely from the second point to the third. |

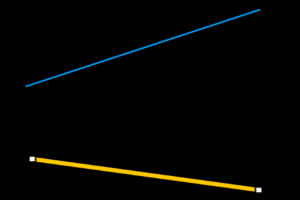
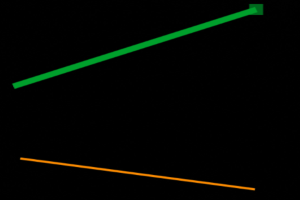
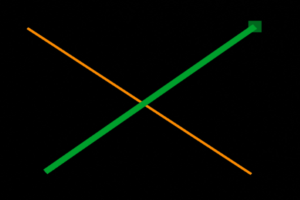
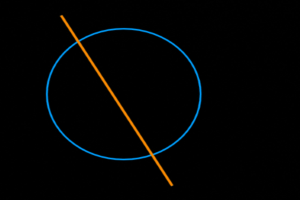
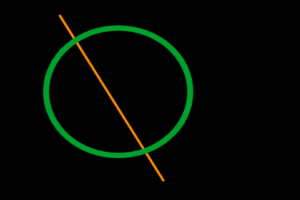
- Lines:
Instruction step by step:
1) |
|||
|
|
|
|
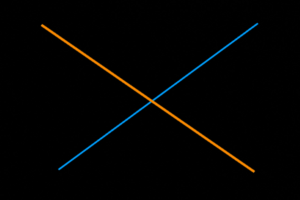
Select one line |
Select another line |
Confirm to construct the bisector of the angle between them |
|
2) |
|||
|
|
||
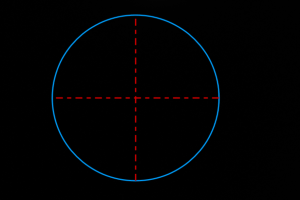
Select a circle |
Confirm to construct the two orthogonal diameters parallel to the axes |
||

3) |
|||
|
|
||
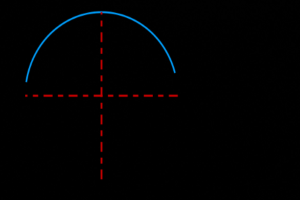
Select an arc |
Confirm to construct the two orthogonal diameters parallel to the axes |
||
4) |
|||
|
|
|
|
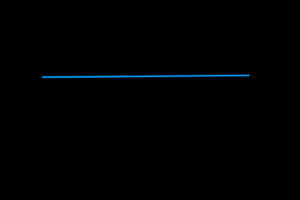
Select a point |
Select another point |
Confirm to construct a line connecting them |
|
5) |
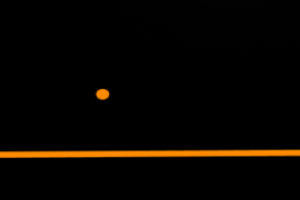
|||
|
|
|
|
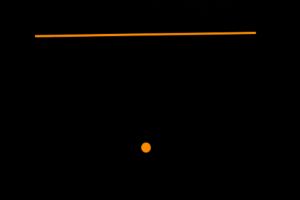
Select a line |
Set one point |
Confirm to construct the parallel of the line passing through the point |
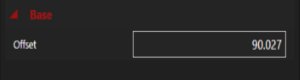
The parallel just built is not bounded to the point, the offset can be set manually from the property bar |

6) |
|||
|
|
|
|
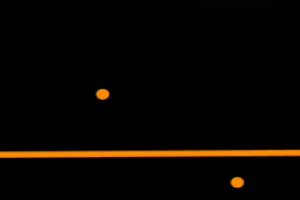
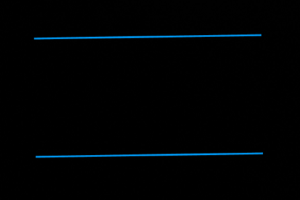
Select a line |
Set one point |
Confirm to construct the parallel of the line passing through the point, bounded to it |
|
7) |
|||
|
|
|
|
Select a line |
Set one point |
Confirm to construct a line passing through the point, by default the angle is 0 |
The angle can be set manually from the property bar |

8) |
|||
|
|
|
|
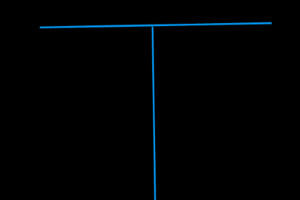
Select a line |
Set one point |
Confirm to construct the orthogonal of the line passing through the point |
|
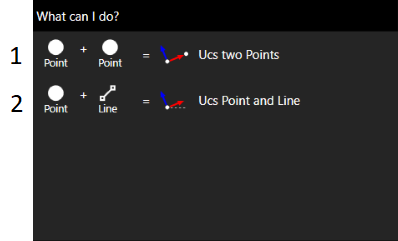
- New Ucs (User coordinate system) Reference:
Instruction step by step:
1) |
|||
|
|
||
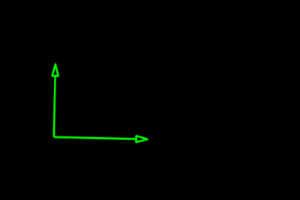
Set a point |
Confirm to set a new Ucs centred in the point |
||
2) |
|||
|
|
||
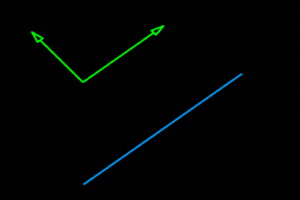
Select a line |
Confirm to set a new Ucs centred in the point, having as x axes the parallel of the line |
||

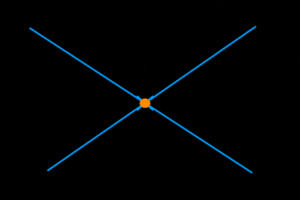
- Points:
1)

Instruction step by step:
2) |
|||
|
|
||
set a point |
Confirm to make it as a part of the object |
||

3) |
|||
|
|
|
|
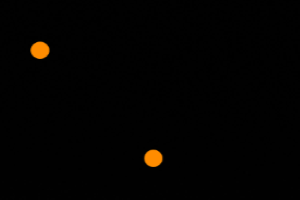
set a point |
set another point |
Confirm to obtain the midpoint |
4) |
|||
|
|
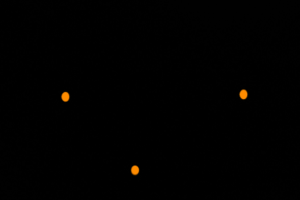
|
|
set a point |
set another point |
Confirm to obtain the vertex of the rectangle built taking the two points as opposite vertexes |

5) |
|||
|
|
|
|
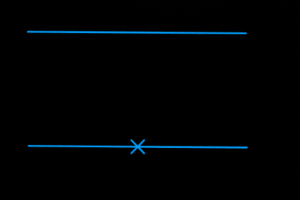
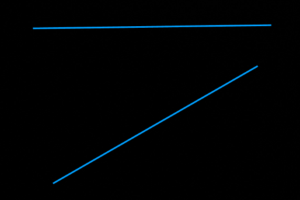
Select a line |
Select another line |
Confirm to obtain the intersection point (also in the extensions) |
6) |
|||
|
|
|
|
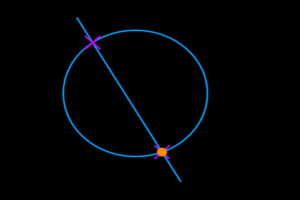
Select a line |
Select a circle |
Confirm to obtain the intersection point(s) |
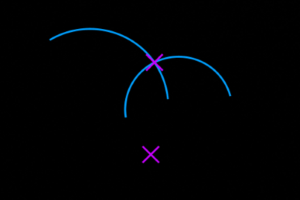
7) |
|||
|
|
|
|
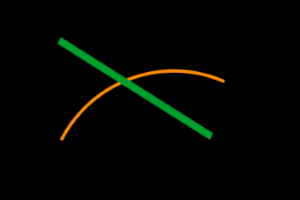
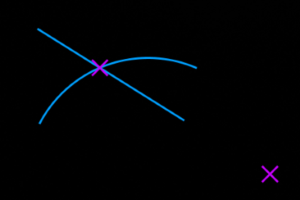
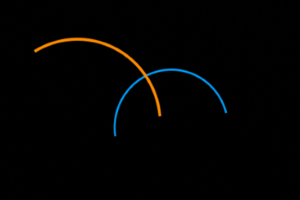
Select an arc |
Select a line |
confirm to obtain the intersection point(s) (also in the extensions) |

8) |
|||
|
|
|
|
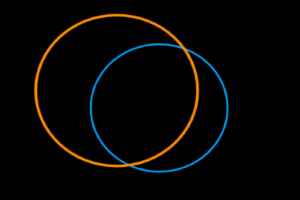
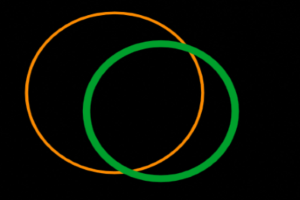
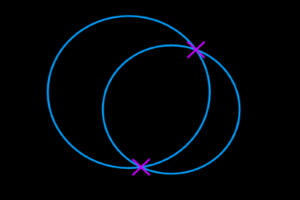
Select one circle |
Select another circle |
Confirm to obtain the intersection point(s) |
9) |
|||
|
|
|
|
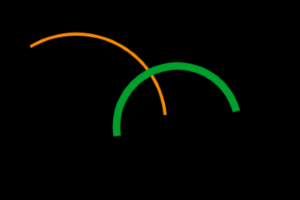
Select an arc |
Select another arc |
Confirm to obtain the intersection point(s) (also in the extensions) |
10) |
|||
|
|
|
|
Select a circle |
Select an arc |
Confirm to obtain the intersection point(s) (also in the extensions) |
When you select a shapes, a guide will prompt in order to suggest you what you can do.
Click on the visualizer to start creating shapes, press ESC to exit.